
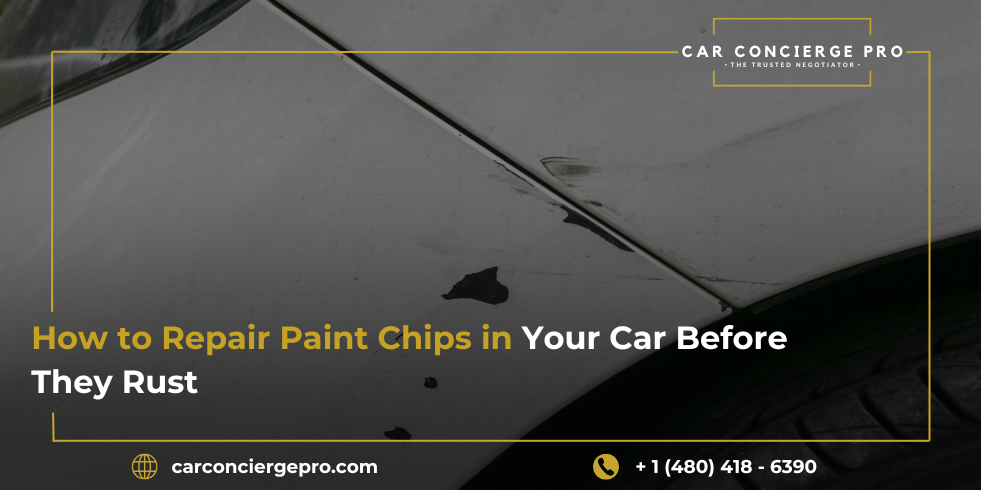
Paint chips are an eyesore to anyone who sees them. They also invite grease, moisture, and road salt to penetrate the car paint and rust a part of your car. Leaving a single stone chip or a few rock chips unattended can corrode your car’s entire panel and make you pay hefty fees for body shop repairs.
The best news is that you can fix paint chips with the right tools. Let this guide walk you through the whole process of fixing small chips in your car’s finish to prevent further damage.
1. Evaluate the Damage
Before you begin the paint chip repair session, inspect the damaged area to see what you need to work with. Look for these damages:
- Fresh small chips without any rust.
- The chip’s depth, whether it’s just through the clear coat or down to the metal.
- Number and size of paint chips all over the car.
Seek professional help if rust is slowly forming or the chip is too big. If you only see stone chip marks or road debris damage, do a DIY repair.
2. Prepare the Right Materials
Go to your local auto parts store to secure the following materials:
- The correct color of the touch-up paint
- Automotive clear coat
- Rubbing alcohol
- Automotive primer, if necessary
- Polishing compound
- 1000-2000 grit wet sandpaper
- Soft brush or dab tool
- Microfiber cloth
- Pencil eraser
- Wax
- Single-edge razor blade for smooth paint application
Check the paint color on your vehicle’s driver’s side door jamb to ensure a perfect match of the new paint.
3. Wash and Prepare the Area
Wash the surrounding area with car soap and water to remove all contaminants, dirt, and grease that can hinder the car paint application. Dry the area with a clean cloth and apply rubbing alcohol to clean the surface. Rub the pencil eraser over the chip to remove debris so the new paint can blend well with the existing paint.
4. Smooth the Chip Edges
You need to smooth all the chip edges if you want the repaired area to be flush with the surrounding paint. Follow these steps:
- Lightly sand the chipped area using wet sandpaper.
- Use a single-edge razor blade to level or file raised edges.
- Wipe the dust with a damp cloth.
Smoothing the chip edges helps you apply the paint smoothly and reduce any visible borders once you apply the touch-up paint.
5. Apply Primer
If the chip exposes the bare metal of the car, applying a thin coat of primer can prevent rust. Use a small brush or applicator to apply primer and let it dry according to product instructions. A primer is another layer of protection your car should have against corrosion.
6. Apply the Touch-Up Paint
After the primer has dried, apply the car paint to your vehicle. Here are some tips:
- Shake the bottle of touch-up paint well.
- Dip your fine brush or applicator tip in the paint and apply a small amount to the chips and scratches.
- Apply the paint in layers. Let each layer dry before applying the next one.
- Let the paint level and cure before wrapping it up.
Multiple layers may be needed to fill deeper paint chips. Don’t rush the process to achieve a smooth finish.
7. Add Clear Coat
After waiting for the touch-up paint to dry, apply a thin, clear coat to lock it in. It brings additional shine to the repaired area and blends the new and current paint. Apply a second coat when needed.
8. Polish and Blend the Surface
Use a polishing compound to mix the new paint with the surrounding paint, creating a seamless finish.
To get a seamless finish, use a polishing compound with a microfiber cloth to mix new and old paint. You should wait at least 24 hours after applying the clear coat. Rub the compound in circular motions until the finish looks even. Polishing removes excess spray and uneven parts that can occur during the repair process.
9. Wrap It Up with Wax
Finish the repair job with a coat of wax. This protects the car’s surface and brings back its shine.
Apply wax to the repaired area and surrounding paint with a clean cloth until it’s glossy. Don’t wash your car for a few days to cure the paint. Waxing the car extends the life of its finish.
Additional Tips
- If you don’t know how to repair the paint chips yourself, consult a professional working in a body shop.
- Treat the entire panel if your car gets multiple small chips.
- Don’t apply touch-up paint in dusty or humid conditions.
- Mask off the areas near the chip with painter’s tape.
Final Thoughts
Repairing paint chips before they rust is a budget-friendly way to preserve your car’s value and appearance. A touch-up paint can solve rock or stone chips and extend your car’s life by many years. Using the right tools, care, and color match can make one think the damage never happened.